I recently bought a goat (the hidden ear variety, LaMancha) who is giving us approximately a gallon of delicious milk a day! I am picking up two more milk mamas today! With all the new milk coming in, I should be able to freeze plenty for our dry months, make as much bread as I want, and continue making cheeses, yogurts, sour cream, whey, kefir, goat milk fudge, soap, etc!
I've made mozzarella for about 3 years now. But I've never made it from goat milk. And since our family cow Io has decided to just hang out and eat and wait for opportunities to get her hair brushed instead of having babies, I suppose I'd better get used to the goat milk variety!
When I bought my new goat, which we aptly named "Mrs. Van Goat" (get it? Like Van Gogh... no ears...), the previous owner (whose super cute blog can be found at www.GoatGirlGazette.wordpress.com) stated that she made her mozzarella from goat cheese. I have made plenty of cheeses from goat milk, but I always made the standard soft feta variety! So this was a new adventure for me. She suggested that I look up the Pioneer Woman recipe for 30 minute mozzarella, and simply pour in goat's milk instead of cow's milk. When I researched the recipe, I found that it called for nuking the curd in the microwave. I banned my family's microwave about 3 years ago. So this recipe is a combination of Pioneer Woman's curd recipe and my old school mozzarella stretching technique.
First, I gathered my materials.
A non-reactive pot that holds 2 gallons
1 gallon raw milk
1/4 tsp liquid vegetable rennet (non-vegetable rennet is made from the lining of a calf's stomach. So watch out, vegetarians!)
1.5 tsp citric acid
a metal spoon
salt
an extra pot of hot water (about 135-150*F)
a bowl of ice water
Next, I mixed 1/4 tsp of liquid vegetable rennet with 1 cup water, and stirred.
I added the citric acid to the empty large pot, and stirred in 1/4 cup of water. I stirred it until it dissolved. Next, I poured in the gallon of raw goat's milk.
I stirred this combination slowly until a thermometer read 90*F.
Then, I removed it from the heat, covered it and allowed it to sit for 5 minutes.
I opened the lid, and sliced the curd in 1" squares. Then, I returned this mixture to the heat, and stirred slowly until the whey reached 105*.
At this point, I removed the curd from the whey. If you like cheese curds, now is the time to salt them and put them in cold water!
But to continue on to mozzarella, drop the newly gathered curds into the hot water you had set aside earlier. Add plenty of salt (to taste). I usually add 1/8 to 1/4 cup.
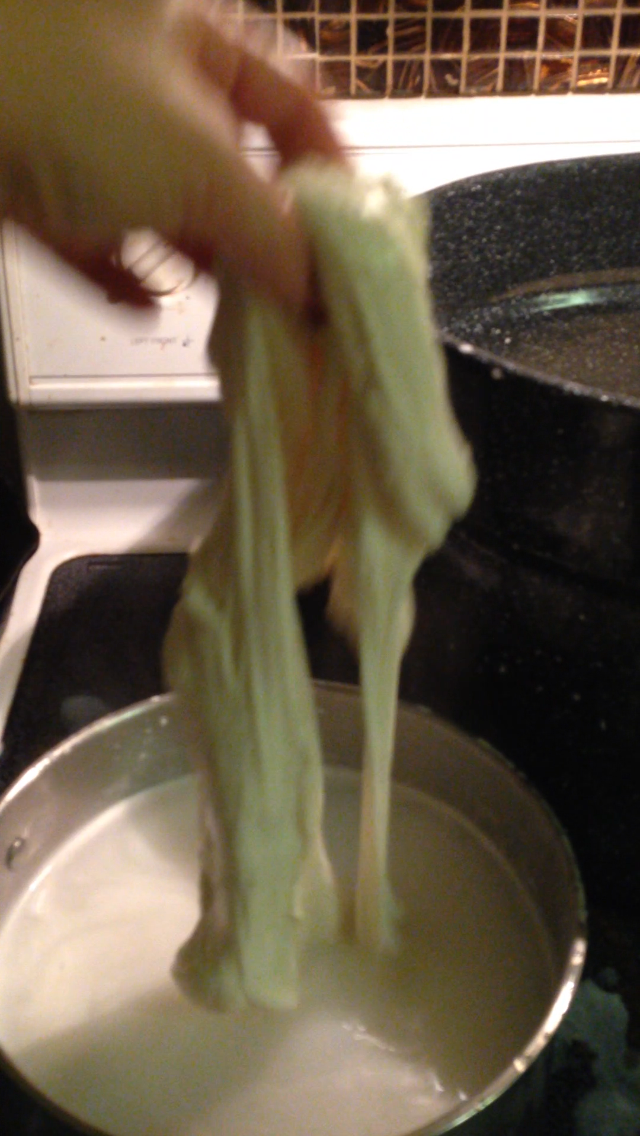
This is my favorite part. I recommend using a metal spoon for this, but I was attempting to take pictures. Stretch the mozzarella for a few minutes, until it becomes shiny. Knead it to work the salt into the mixture. Don't allow it to rest in the hot water too long, or it will fall apart.
Continue to knead until you can roll it into a tight ball, like pictured below. Now you have mozzarella!
I like to store mine in just a bit of the salt water, and rolled into an airtight ziplock baggie in the refrigerator.
And don't throw that whey out! You can make bread with it (use it in place of buttermilk), or store it like I did in the picture below. Pour it into muffin tins to freeze, then place the frozen portions in a ziplock bag. You can use these as all natural whey protein in your morning smoothies!
Enjoy!!


No comments:
Post a Comment